Gartner estimates that enterprises will generate over 3.5 exabytes of collaboration data each year by 2025, with video meeting content representing one of the richest and least-tapped sources of business intelligence. Sales calls, client onboarding sessions, and team standups all contain insights locked inside recordings until a developer builds a system to extract them.
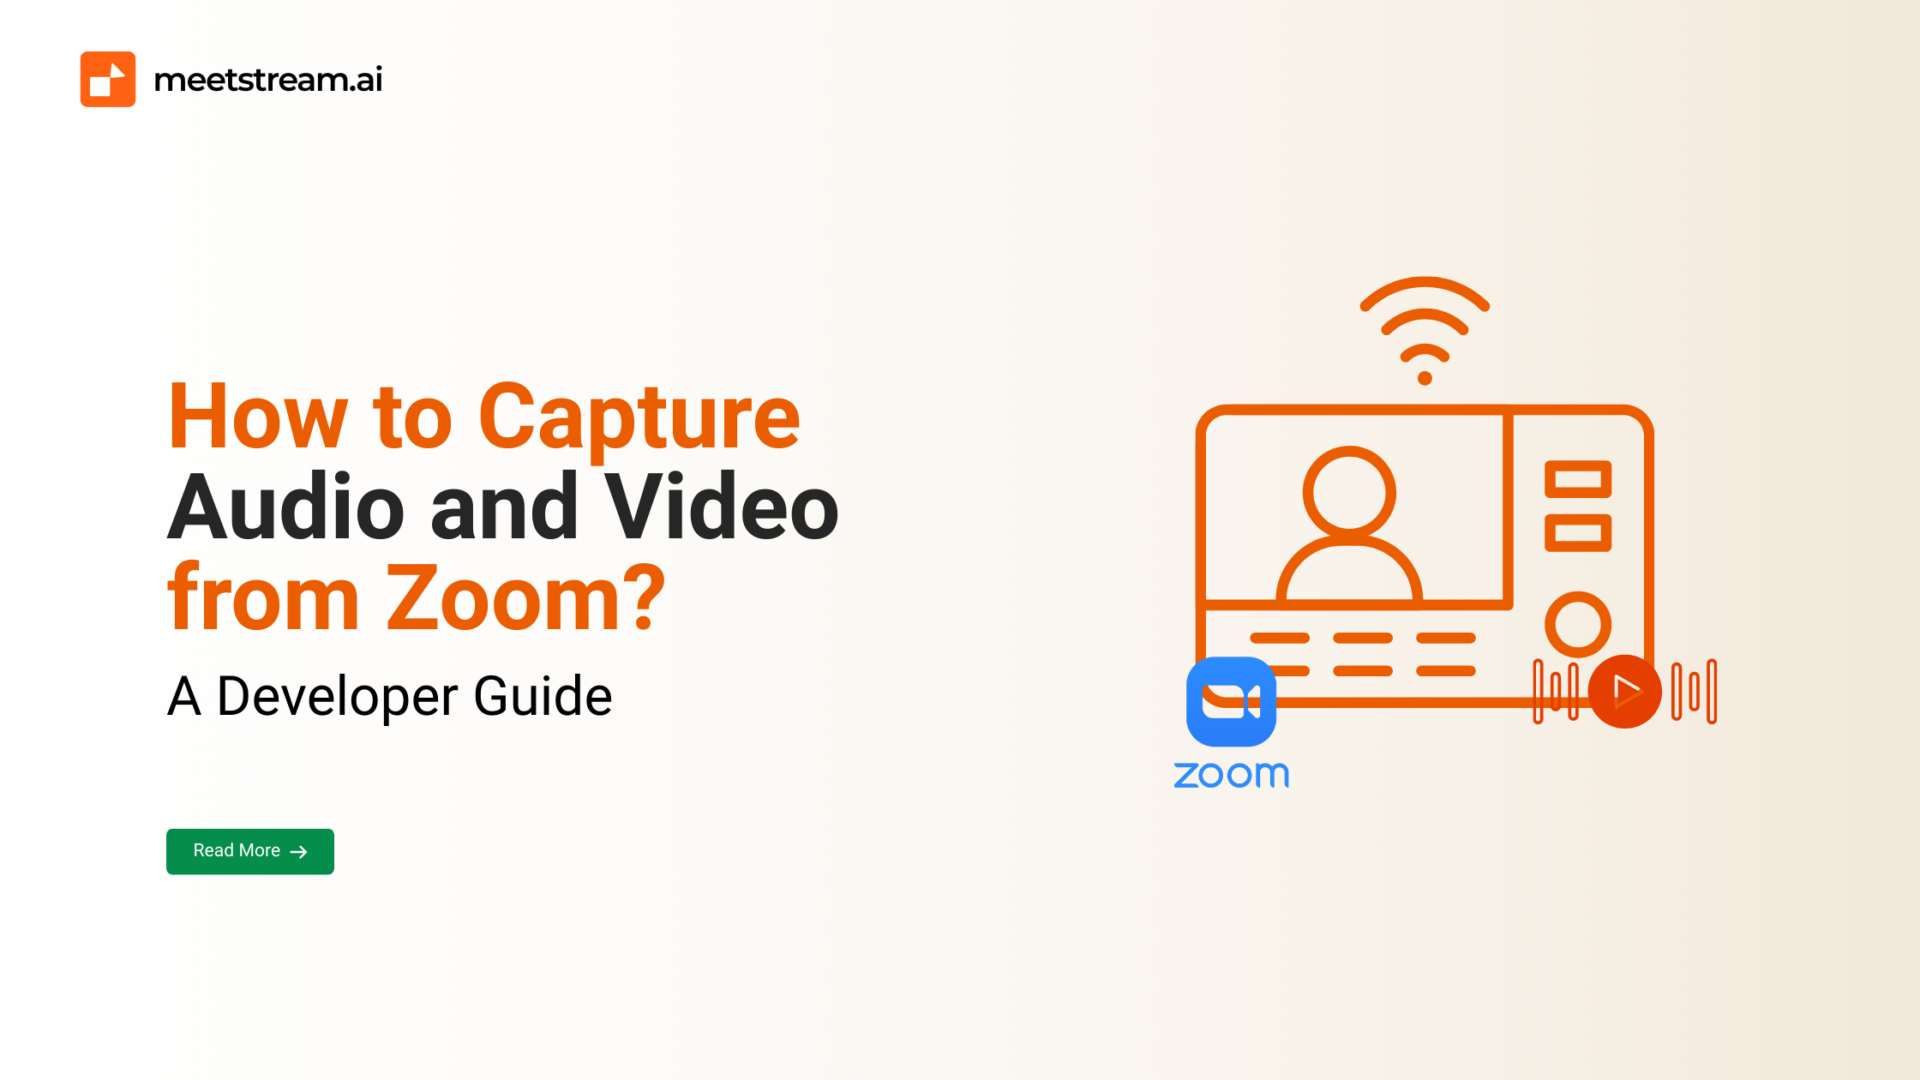
Capturing that audio and video programmatically is harder than it looks. Zoom’s built-in recording features require manual action from the host, only support real-time delivery on higher-tier plans, and do not provide the per-participant audio tracks needed for speaker diarization or coaching tools. Developers who need automated, scalable capture quickly find that the native options fall short.
Capturing audio and video from Zoom refers to the process of programmatically accessing meeting media, either after the fact via cloud recordings or in real time via the Meeting SDK or a recording bot API. Each method involves different tradeoffs in engineering effort, latency, cost, and whether the meeting host needs to take any action.
In this article, we’ll explore every method for capturing audio and video from Zoom, from built-in local recording to SDK bots and managed APIs, so you can choose the right approach for your use case. Let’s get started!
Why Capturing Zoom Audio and Video Matters
Zoom is the world’s most popular video conferencing platform and powers millions of meetings every day across many industries. Teams rely on these meetings for sales calls, client onboarding, team standups, and training sessions.
Capturing audio and video data from these meetings enables many powerful use cases:
• AI-powered meeting summaries and automatically generated action items
• Real-time sales coaching and conversation intelligence
• Compliance recording and audit trails
• Training data collection for machine learning models
• Post-meeting analytics and speaker identification
Method 1: Local Recording (Built-In Zoom Feature)
Local recording is the simplest way to capture a Zoom meeting directly to your computer.
Zoom provides this feature on all subscription tiers, including the free plan. Because of this, many users start with this method.
How to Enable Local Recording
- Sign in to the Zoom web portal at zoom.us.
- In the navigation menu, click Settings.
- Click the Recording tab.
- Turn on the Local Recording option so it appears enabled (blue).
- If the setting appears grayed out, a Zoom administrator has locked it at the account level.

How to Record a Zoom Meeting Locally
- Start or join a Zoom meeting from your desktop client.
- Click the Record button in the meeting toolbar.
- Select Record on this Computer.
- Zoom will show a Recording… indicator in the top-left corner of the meeting window.
- When the meeting ends, Zoom automatically converts the recording into an MP4 video file and an M4A audio file. It then saves these files to your local computer.
Finding Your Local Recordings
Zoom saves local recordings to the following locations by default:
• Windows: C:Users[Username]DocumentsZoom
• Mac: /Users/[Username]/Documents/Zoom
You can also find recordings inside the Zoom desktop application by navigating to Meetings > Recorded.
Limitation: Local recording requires manual action. A user must start and stop the recording. The process also uses processing power from the host’s computer, and there is no automatic upload process unless you add additional tools.
Method 2: Zoom Cloud Recording
Zoom Cloud Recording is Zoom’s hosted recording service. Instead of storing files on your computer, Zoom uploads recordings to its cloud storage.
You can access these recordings through the Zoom web portal or retrieve them programmatically through the Zoom API.
Zoom provides Cloud Recording to users on paid plans such as Pro, Business, and Enterprise.
How to Enable Cloud Recording
- Sign in to the Zoom web portal at zoom.us.
- Go to Settings > Recording.
- Turn on Cloud Recording.
- You can also enable Automatic Recording so meetings start recording automatically when they begin.
How to Start a Cloud Recording
- Start your Zoom meeting as the host.
- Click the Record button in the meeting toolbar.
- Select Record to the Cloud.
- After the meeting ends, Zoom processes the recording. Processing usually takes about twice the meeting duration.
For example, a 30-minute meeting normally takes about one hour to process. In rare cases during high system load, processing may take up to 24 hours.
Accessing Cloud Recordings via the Zoom API
After Zoom finishes processing the recording, developers can retrieve it programmatically using the Zoom Recordings API.
Developers can call the /v2/meetings/{meetingId}/recordings endpoint to get download URLs for:
• MP4 video files
• M4A audio files
• VTT transcript files
Limitation: Cloud Recording does not provide real-time access. You must wait for Zoom to finish processing the files. It also requires a paid Zoom subscription.
Method 3: Real-Time RTMP Streaming
RTMP (Real-Time Messaging Protocol) streaming allows you to receive live audio and video from a Zoom meeting while the meeting is happening.
This method works well for use cases that require immediate data, such as live call transcription, real-time sales coaching, or contact center automation.
Steps to Enable and Use RTMP Streaming
- Open the Zoom web portal and go to Settings > Meeting > In Meeting (Advanced).
- Enable the Allow live streaming of meetings option.
- Configure your RTMP server so it can receive the incoming stream. You can use an open-source solution like Node-Media-Server and host it yourself.
- Use the Zoom Meeting API (meetingLiveStreamUpdate endpoint) to configure RTMP streaming programmatically for a specific meeting.
- During the meeting, Zoom will show a Live Streaming badge to participants. Some users may find this visually alarming if they are unfamiliar with the feature.
Limitation: RTMP streaming requires you to manage your own server infrastructure to ingest and process raw streams. It also requires a Zoom Pro account or higher.
Method 4: Build a Recording Bot Using the Zoom SDK
A Zoom recording bot acts as a software participant that automatically joins meetings and captures raw audio and video streams in real time. Industry tools such as Gong, Chorus, and Grain use this approach.
Developers usually build these bots using the Zoom Windows or Mac Meeting SDK and the Raw Data API.
Key Steps to Build a Recording Bot
- Register as a developer on the Zoom Marketplace and create an SDK application to obtain your SDK credentials.
- Prepare a server environment, usually Linux running through Docker, to host and operate the bot.
- Use the Zoom Meeting SDK to initialize the bot and join a meeting using the meeting ID and a Zoom Access Key (ZAK) token.
- Subscribe to the raw audio and video streams through the SDK’s Raw Data API callbacks.
- Process and store the raw frames. Audio streams arrive as PCM data, and video streams arrive as YUV frames. You must encode them to create final MP4 or MP3 files.
- Deploy multiple bot instances so your system can handle several meetings at the same time.
Limitation: Building and maintaining a recording bot requires a significant engineering investment.
Initial development often takes months and typically requires several full-time engineers to maintain and scale the system.
The Smarter Way: Capture Zoom Audio and Video with the Meetstream.ai API
Building and maintaining your own Zoom recording infrastructure can take significant time and resources. Whether you rely on cloud polling, RTMP servers, or custom bots, the engineering effort can become expensive and complex.
If you want to add Zoom audio and video capture to your product without building that infrastructure, the Meetstream.ai API provides a simpler approach.
Meetstream.ai is a developer-focused API that handles the complexity of Zoom meeting capture so your team can focus on building your product.
Ready to capture Zoom meetings programmatically? Visit meetstream.ai and get your API key today. You can integrate within hours and move to production in days.
Conclusion
Capturing audio and video from Zoom is essential for building modern meeting tools, analytics platforms, and AI-driven applications.
Zoom provides several ways to do this, including local recording, cloud recording, RTMP streaming, and SDK-based recording bots. Each method serves different needs depending on whether you want simplicity, automation, or real-time data.
However, building and managing these solutions can require significant effort and infrastructure.
If you want a faster and more scalable way to capture Zoom meeting data, APIs like Meetstream.ai simplify the entire process and allow developers to integrate meeting capture capabilities quickly.
How to capture audio from a Zoom meeting?
There are several approaches: enable local recording (manual, saves M4A), use Zoom cloud recording API to retrieve M4A files after processing, set up RTMP streaming for live audio, or use a recording bot API like MeetStream that delivers mixed MP3 or per-participant audio tracks programmatically with no host action needed.
Can you access raw video streams from Zoom?
Yes, via the Zoom Meeting SDK’s Raw Data API. It delivers YUV420p video frames and PCM audio in real time to a registered SDK participant. This requires building and maintaining an SDK-based bot, which is a significant engineering investment. Managed bot APIs like MeetStream provide similar access with far less setup.
What SDK methods capture audio from Zoom?
The Zoom Meeting SDK’s Raw Data API uses callbacks like onMixedAudioRawDataReceived and onOneWayAudioRawDataReceived to deliver PCM audio frames. Developers subscribe to these callbacks after joining the meeting and process the audio buffers in real time.
Is it possible to stream Zoom audio to another service?
Yes. RTMP streaming allows you to forward live Zoom audio and video to an external server during the meeting. Alternatively, a recording bot API like MeetStream can stream raw audio frames via WebSocket in real time to any downstream service, such as a transcription API or speech analytics platform.