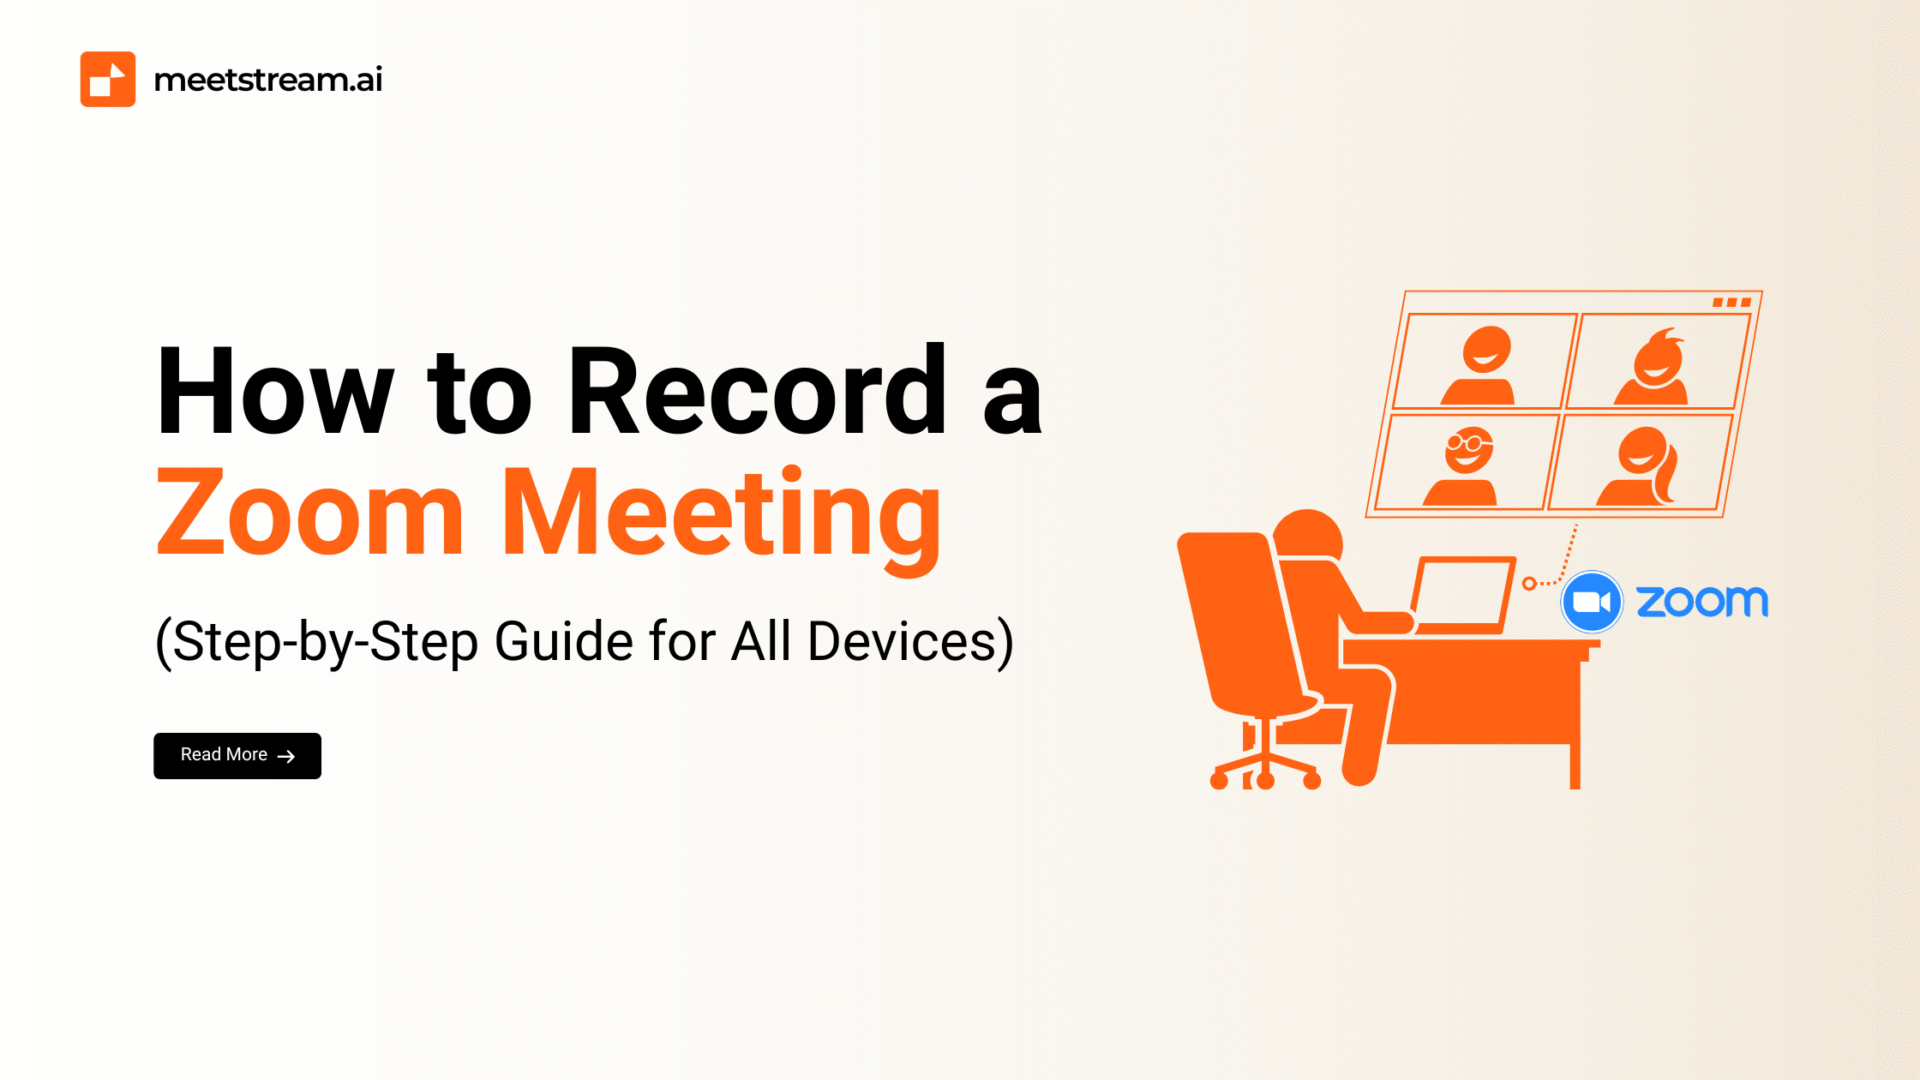
In 2026, recording Zoom meetings is essential for virtual collaboration, corporate training, distance education, and hybrid business models. Whether you’re organizing a webinar, documenting a stakeholder call, or archiving project updates, recording your Zoom sessions ensures knowledge retention, content repurposing, and regulatory compliance.
This guide covers every method to record a Zoom meeting — from Zoom’s built-in local and cloud recording to third-party tools and meeting bot APIs that automate recording programmatically. We’ll cover desktop (Windows/macOS), mobile (iOS/Android), permissions, troubleshooting, transcription, and developer API options.
4 Ways to Record a Zoom Meeting
| Method | Best For | Requires Host? | Transcription | Cost |
|---|---|---|---|---|
| Zoom Local Recording | Solo professionals, educators | Yes | No (manual) | Free (all plans) |
| Zoom Cloud Recording | Teams, HR, remote ops | Yes | Yes (AI-generated) | Pro+ plans |
| Meeting Bot API (MeetStream) | Developers, SaaS products | No — bot joins via URL | Yes (real-time + diarization) | Free tier available |
| Screen Recording Software | Personal backup | No | No | Free-$30/mo |
Zoom Recording Options: Local vs Cloud
Zoom provides two built-in options — Local Recording and Cloud Recording — each tailored for different storage preferences, accessibility needs, and subscription levels.
1. Local Recording
Local recording captures both video and audio and saves it directly to your device’s internal storage, external SSD, or cloud-synced folders like Google Drive or Dropbox. Available on all Zoom plans (including free).
- Supported Formats: .MP4 for video, .M4A for audio
- Access: Only accessible on the host’s device
- Best For: Training materials, project documentation, offline backup
2. Cloud Recording
Cloud recording uploads your Zoom session directly to your Zoom account’s cloud dashboard. Available on Pro, Business, Enterprise, and Education plans.
- Features: Multi-view recording (gallery, speaker), AI transcription, searchable archives
- Accessibility: Files accessible across devices via browser
- Storage: Dependent on subscription; scalable with add-ons
Feature Comparison: Local vs Cloud vs Bot API
| Feature | Local Recording | Cloud Recording | Bot API (MeetStream) |
|---|---|---|---|
| Plan Required | Free & Paid | Paid Plans Only | Any (bot joins via URL) |
| File Location | On-device | Zoom Cloud | Your own infrastructure |
| Playback Access | Host device only | Cross-device (web/mobile) | Custom (your app/storage) |
| Transcription | No | Yes (AI-generated) | Yes (real-time + diarization) |
| Speaker Diarization | No | Basic | Yes (per-participant streams) |
| API/Automation | No | Limited | Full REST + WebSocket API |
| Data Ownership | You own files | Stored on Zoom | You own everything |
| Best For | Solo users, educators | Teams, HR, legal | Developers, SaaS products |
User Roles and Permissions for Recording
In Zoom’s role-based access system, only the meeting host has default permission to initiate a recording. Co-hosts and participants with granted privileges will see the record button. Account admins can enforce or restrict recording across all users via the Admin Console.
How to Record a Zoom Meeting on Desktop (Windows & macOS)
Local Recording on Desktop
Requirements: Zoom desktop client (latest version), host or co-host role, minimum 2GB free disk space.
Steps:
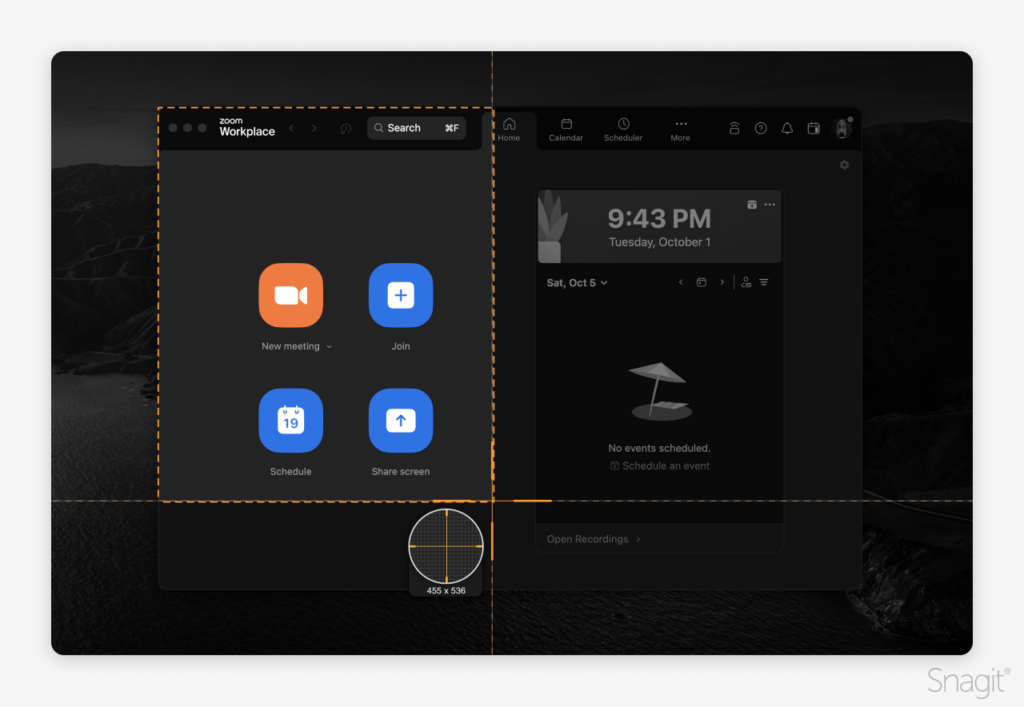
- Open the Zoom desktop app and launch or join a meeting.
- Click the Record button in the bottom toolbar.
- A “Recording…” label will appear on the screen.
- When finished, click Stop Recording or end the meeting.
- Zoom converts the temporary file into a playable .MP4 once the meeting ends.
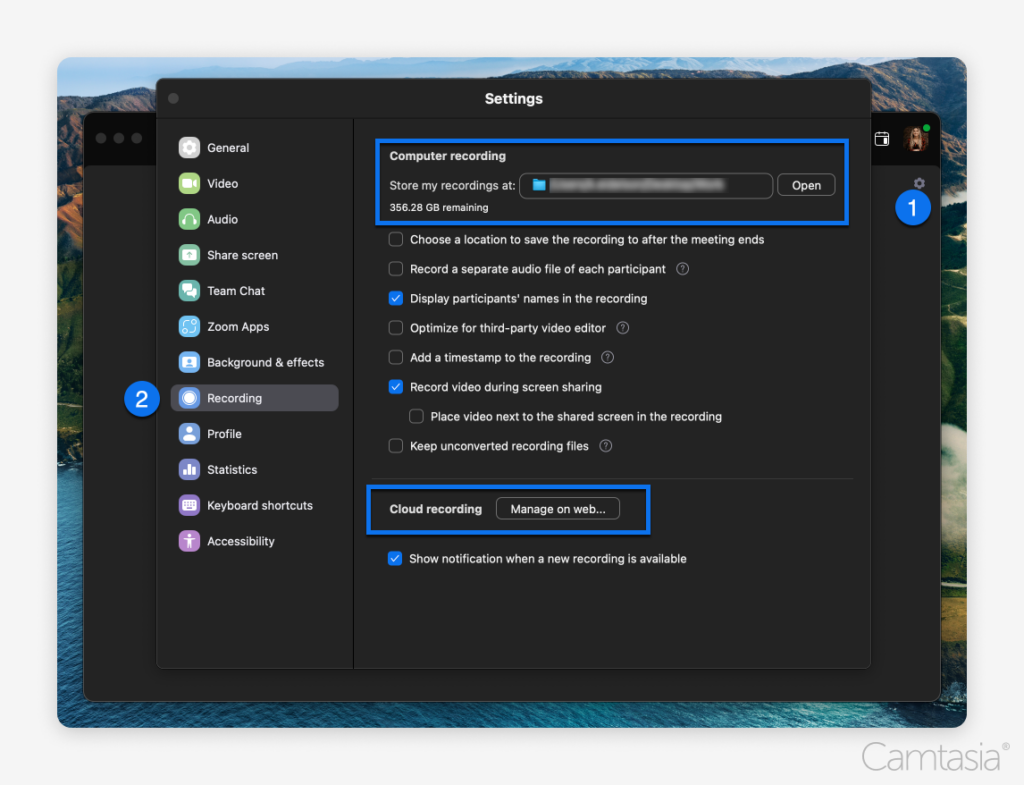
Default file path: Documents > Zoom > [Meeting Name and Timestamp]. Customize via Settings > Recording > Store My Recordings At.
Cloud Recording on Desktop
Enable cloud recording:
- Sign into Zoom.us
- Navigate to Settings > Recording
- Toggle on Cloud Recording
To record: Host a meeting, click Record > Record to the Cloud. Access your files at My Account > Recordings.
How to Record Zoom Meetings Automatically with a Bot API
For developers building products that need to record Zoom meetings programmatically, meeting bot APIs provide a completely different approach. Instead of relying on Zoom’s built-in recording, you send a bot into the meeting via API — no host permissions needed, no manual clicking.
Here’s how to record a Zoom meeting with MeetStream’s API:
# Record a Zoom meeting with one API call
curl -X POST https://api.meetstream.ai/v1/bots
  -H "Authorization: Bearer YOUR_API_KEY"
  -H "Content-Type: application/json"
  -d '{
    "meeting_url": "https://zoom.us/j/123456789",
    "config": {
      "audio_stream": true,
      "video_stream": true,
      "transcription": true
    }
  }'
With that single API call, MeetStream:
- Joins the Zoom meeting as a bot participant
- Records audio and video per participant via WebSocket (sub-200ms latency)
- Transcribes in real time with speaker diarization
- Sends lifecycle events (joins, leaves, screen shares) via webhook
- Gives you full data ownership — store recordings in your own infrastructure
This is how companies build automated recording into their SaaS products, sales coaching platforms, compliance tools, and CRM integrations. For a complete walkthrough, see our Zoom Recording Bot API guide.
How to Set Up Auto-Recording in Zoom
If you want Zoom to automatically start recording every meeting:
- Sign in to Zoom
- Go to Settings > Meeting > Schedule Meeting
- Enable Automatically Record Meeting
- Select Cloud or Local recording based on your storage preference
You can also automate workflows with tools like Zapier, Make, and n8n to auto-upload recordings to Google Drive, send Slack notifications post-meeting, or log summaries in your CRM.
Troubleshooting Common Zoom Recording Issues
Record Button Not Visible
Causes: Not the host, permissions not granted, or admin-level restrictions. Fix: Request host permission or have the host assign co-host privileges.
No Audio in Recordings
Fix: Verify microphone selection under Audio Settings, ensure no mute status or hardware disconnection, and test audio in advance with Zoom’s “Test Mic” feature.
Corrupted or Missing Files
Prevention: Avoid shutting down during conversion, ensure sufficient disk space, and save backups using automated sync tools like Dropbox or OneDrive.
How to Transcribe Zoom Recordings
Zoom’s Native Transcription (Pro+ plans): Enable in Recording Settings for searchable, time-synced transcripts.
Third-Party Transcription Tools:
- Otter.ai — Speaker labels, collaboration, AI summaries
- Descript — Edit video by editing transcript text
- MeetStream API — Real-time transcription with speaker diarization for developers
Export transcripts in .txt, .vtt, or .srt formats. Use Zoom’s sharing options for password-protected URLs, expiration dates, and domain-restricted access.
Final Thoughts
In 2026, Zoom recording is a business necessity. Whether you’re archiving project calls, delivering training, or building a content library, you have multiple options — from Zoom’s built-in local and cloud recording to meeting bot APIs that let developers automate recording programmatically.
For most users, Zoom’s cloud recording with AI transcription is sufficient. For developers building recording into their products, MeetStream’s API provides real-time audio/video streams, transcription with diarization, and full data ownership with a single API call. Get started free →
Related Guides
- Zoom Recording Bot API: Developer Guide
- How to Record Google Meet with a Bot
- How to Record a Microsoft Teams Meeting
- What Is an AI Meeting Bot?
- Meeting Bot API: Complete Guide for Developers
- Meeting Transcription API Comparison